

Prepping for your first scan-to-BIM project? Read on for some useful tips on how to approach hardware selection and execution in the field.
Your firm has the tools and experience for 3D capture and BIM modeling, so you’re looking to take the natural next step and offer scan-to-BIM services. But a good scan-to-BIM workflow is a complex thing with lots of moving parts, and you don’t have the luxury of figuring it out as you go.
This series of blog posts will help by walking you through the scan-to-BIM process at a high level, breaking down the stages of the process. In our last post, we covered tips about planning the project in careful coordination with your client.
Once that’s complete, it’s time to start the work itself, so today we’ll cover the scanning portion. Read on for some crucial tips on how to approach hardware selection and execution in the field.
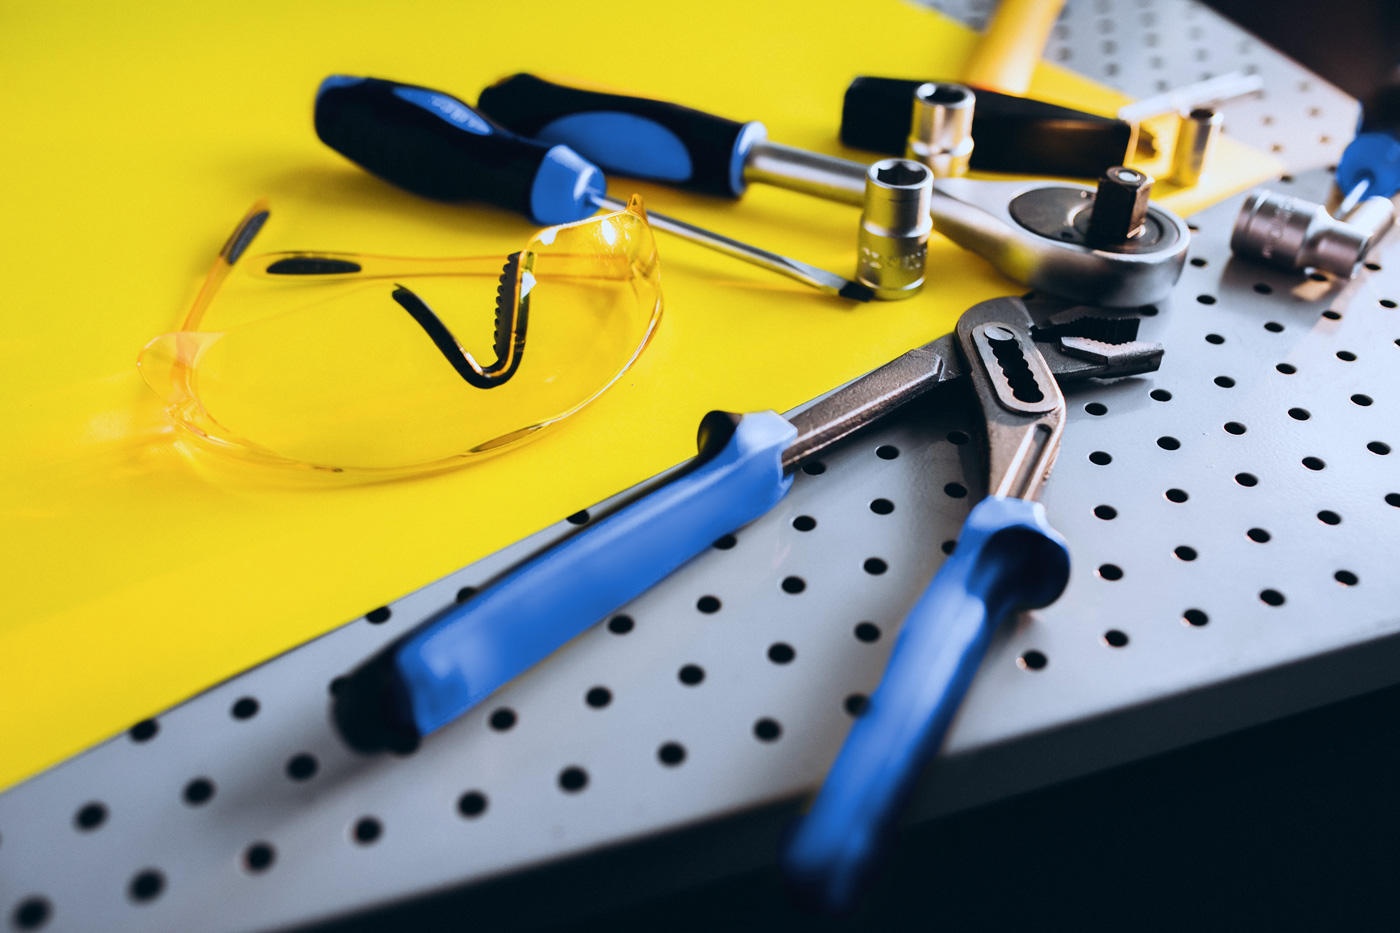 Pick the right tools
Scan-to-BIM relies on the use of a 3D capture device for gathering spatial information on the building. There are a variety of different 3D scanners on the market. The right tool for your company will depend on the types of projects you take on, and the details in the scope of work.
The two most popular scanners for scan-to-BIM workflows are mobile mapping devices and terrestrial laser scanners.
- Mobile mapping devices are a type of scanner optimized for capturing structures. They are best suited for projects that require a high level of detail, and can benefit from a workflow up to 10X faster than terrestrial laser scanners can offer. Mobile mapping devices are capable of capturing data in the 2-3 cm range—or better, depending on your workflow. That’s more than enough for most BIM applications. As a bonus, the best of these scanners often include an HD 360° camera for capturing panoramas. These can be a very valuable tool for navigating the data or sharing work with your client, they are even quite useful during the modeling process.
- Terrestrial laser scanners are best suited for projects that require the absolute highest detail, and where you can afford to take the time. Many experienced scan-to-BIM professionals use these in applications like historical preservation and heritage landmarks.
 Consider a hybrid workflow
For a long time, people believed that one kind of scanner was all you needed for a successful scan-to-BIM workflow. Though this is still true for certain projects, many of today’s leading scan-to-BIM professionals caution against the single-scanner approach.
These forward-looking professionals say that it pays to consider a hybrid workflow, which means using a combination of capture methodologies on a single project. This approach allows you to play to the strengths of each scanner, save time and money, and even produce a better deliverable for your client.
For instance, many professionals will use a mobile mapping device to capture the interior of the building quickly, and a terrestrial scanner to capture the fascia in greater detail. They might also use a drone to capture the roof, which the scanning technicians might not be able to access.
For more inspiration, here’s a list of some creative hybrid workflows used by NavVis customers.
Don’t forget survey control
If you plan on using multiple capture methodologies—and even if you don’t—you will want to think carefully about survey control. Using targets is crucial for registering together data sets captured by different tools, like mobile mapping devices, terrestrial laser scanners, and drones. You can also use control points as part of your mobile scanner’s processing workflow, as they offer a way to improve the accuracy of your final point cloud.
 Make a scan plan
Before you scan, it’s crucial to make a plan for how your team will capture the asset. This scan plan should be just as detailed as the SOW you developed in the first stage of the scan-to-BIM process.
Walk the site in advance of the project, and answer questions like:
- Which capture tool you’ll use for different parts of the asset
- Which operators will be using which tools
- How long you expect to spend on each part of the capture
- Whether you’ll outsource the work
- Where to place targets for tasks like establishing survey control, registering together scans, and locking up the accuracy of SLAM scans
- Whether certain parts will need extra scans for good registration
- Where you’ll need to get creative to get good results, e.g., how you might approach capturing MEP above the ceiling panels of an office.
This plan will help you define your approach to scanning, identify potential problems and challenges, and solve problems creatively before you get into the field. It will optimize your process, so you can improve your efficiency in the field and produce better results for your clients.
Take notes
If your planning has gone well, your team should know how to approach the scan, and this part should go relatively smoothly.
However, it’s rare that a project will go exactly as planned. That’s why you and your team should take detailed notes about how the scan actually went, including any changes made to the original plan. This information could prove invaluable to the technician in charge of registration later on.
Next steps
If you follow the best practices for your hardware in your particular application, you’ll produce data that’s ready for processing. For tips on that stage, have a look at our next blog post, which will walk you through some tips for post-processing, computer selection, file sharing, and cleaning and registering your data.
Sean Higgins is an independent technology writer, former trade publication editor, and outdoors enthusiast. He believes that clear, buzzword-free writing about 3D technologies is a public service.