


What is topographic surveying?
Everything you need to know about topographic surveying with SLAM scanners
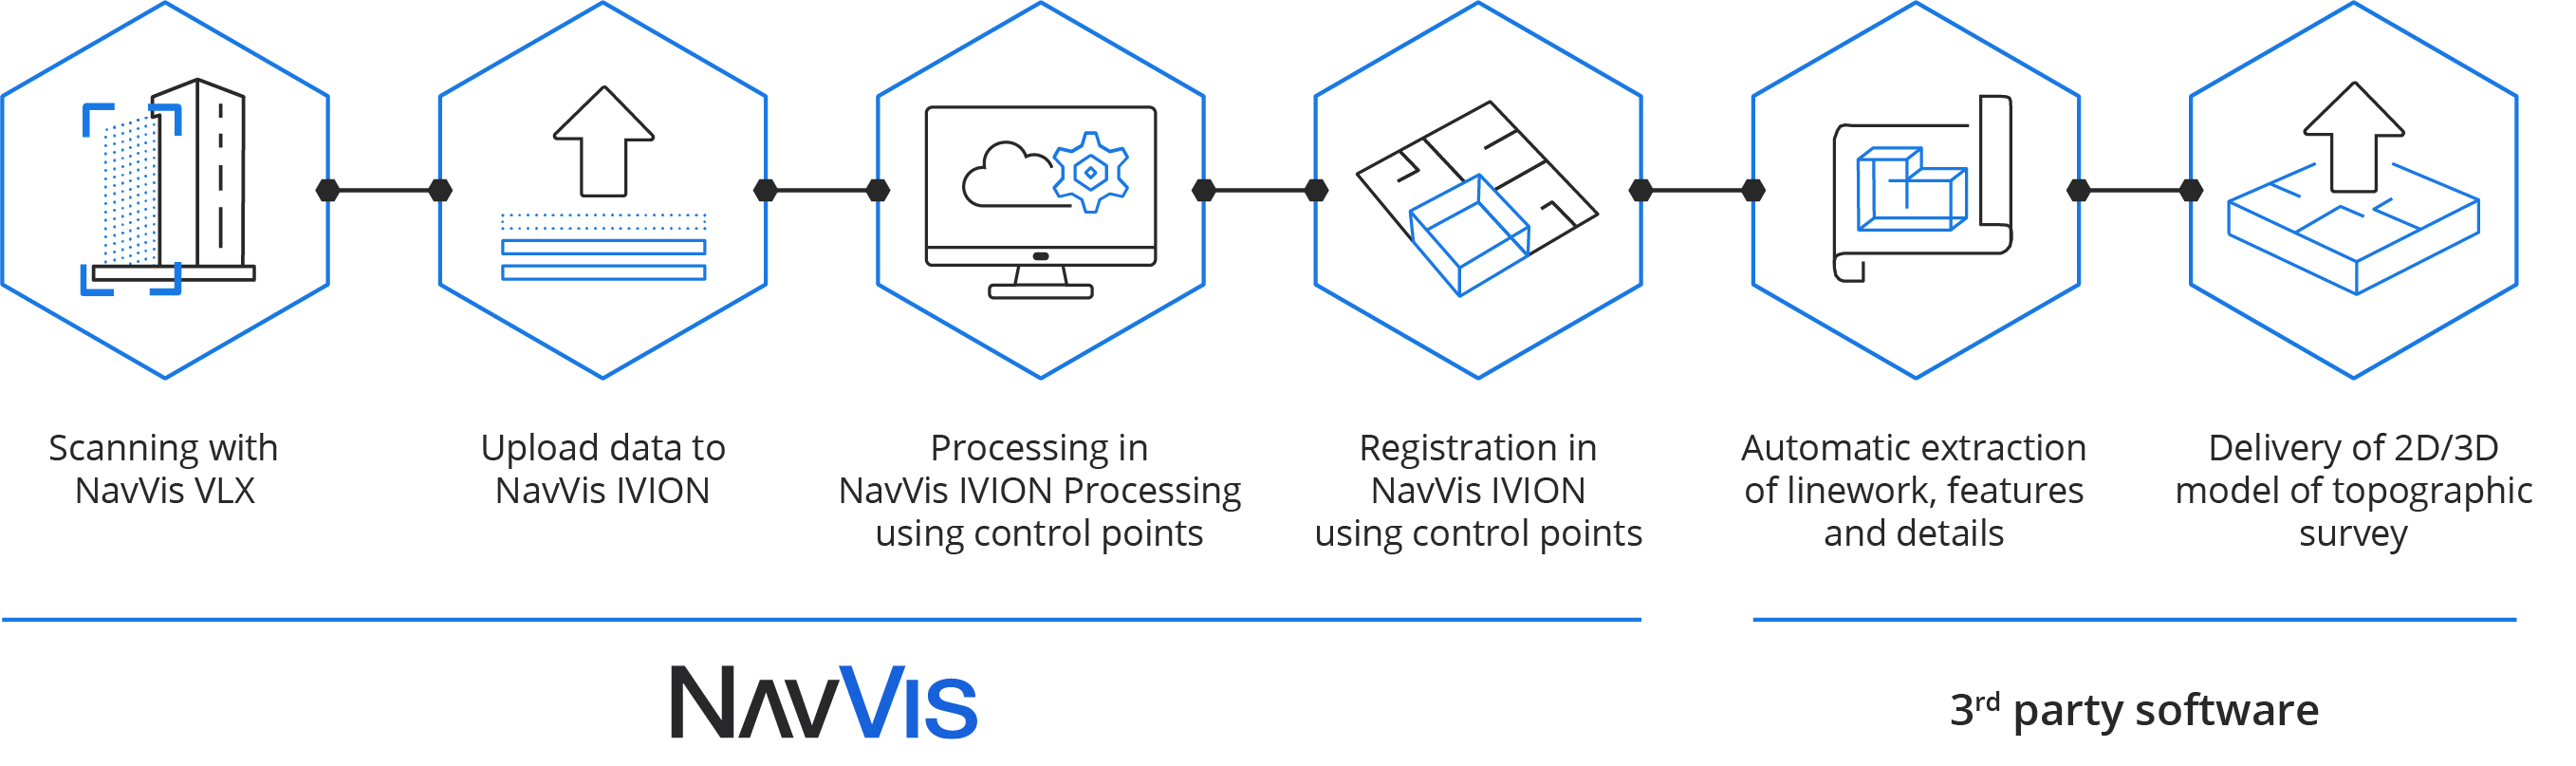
Workflow: Traditional topographic survey
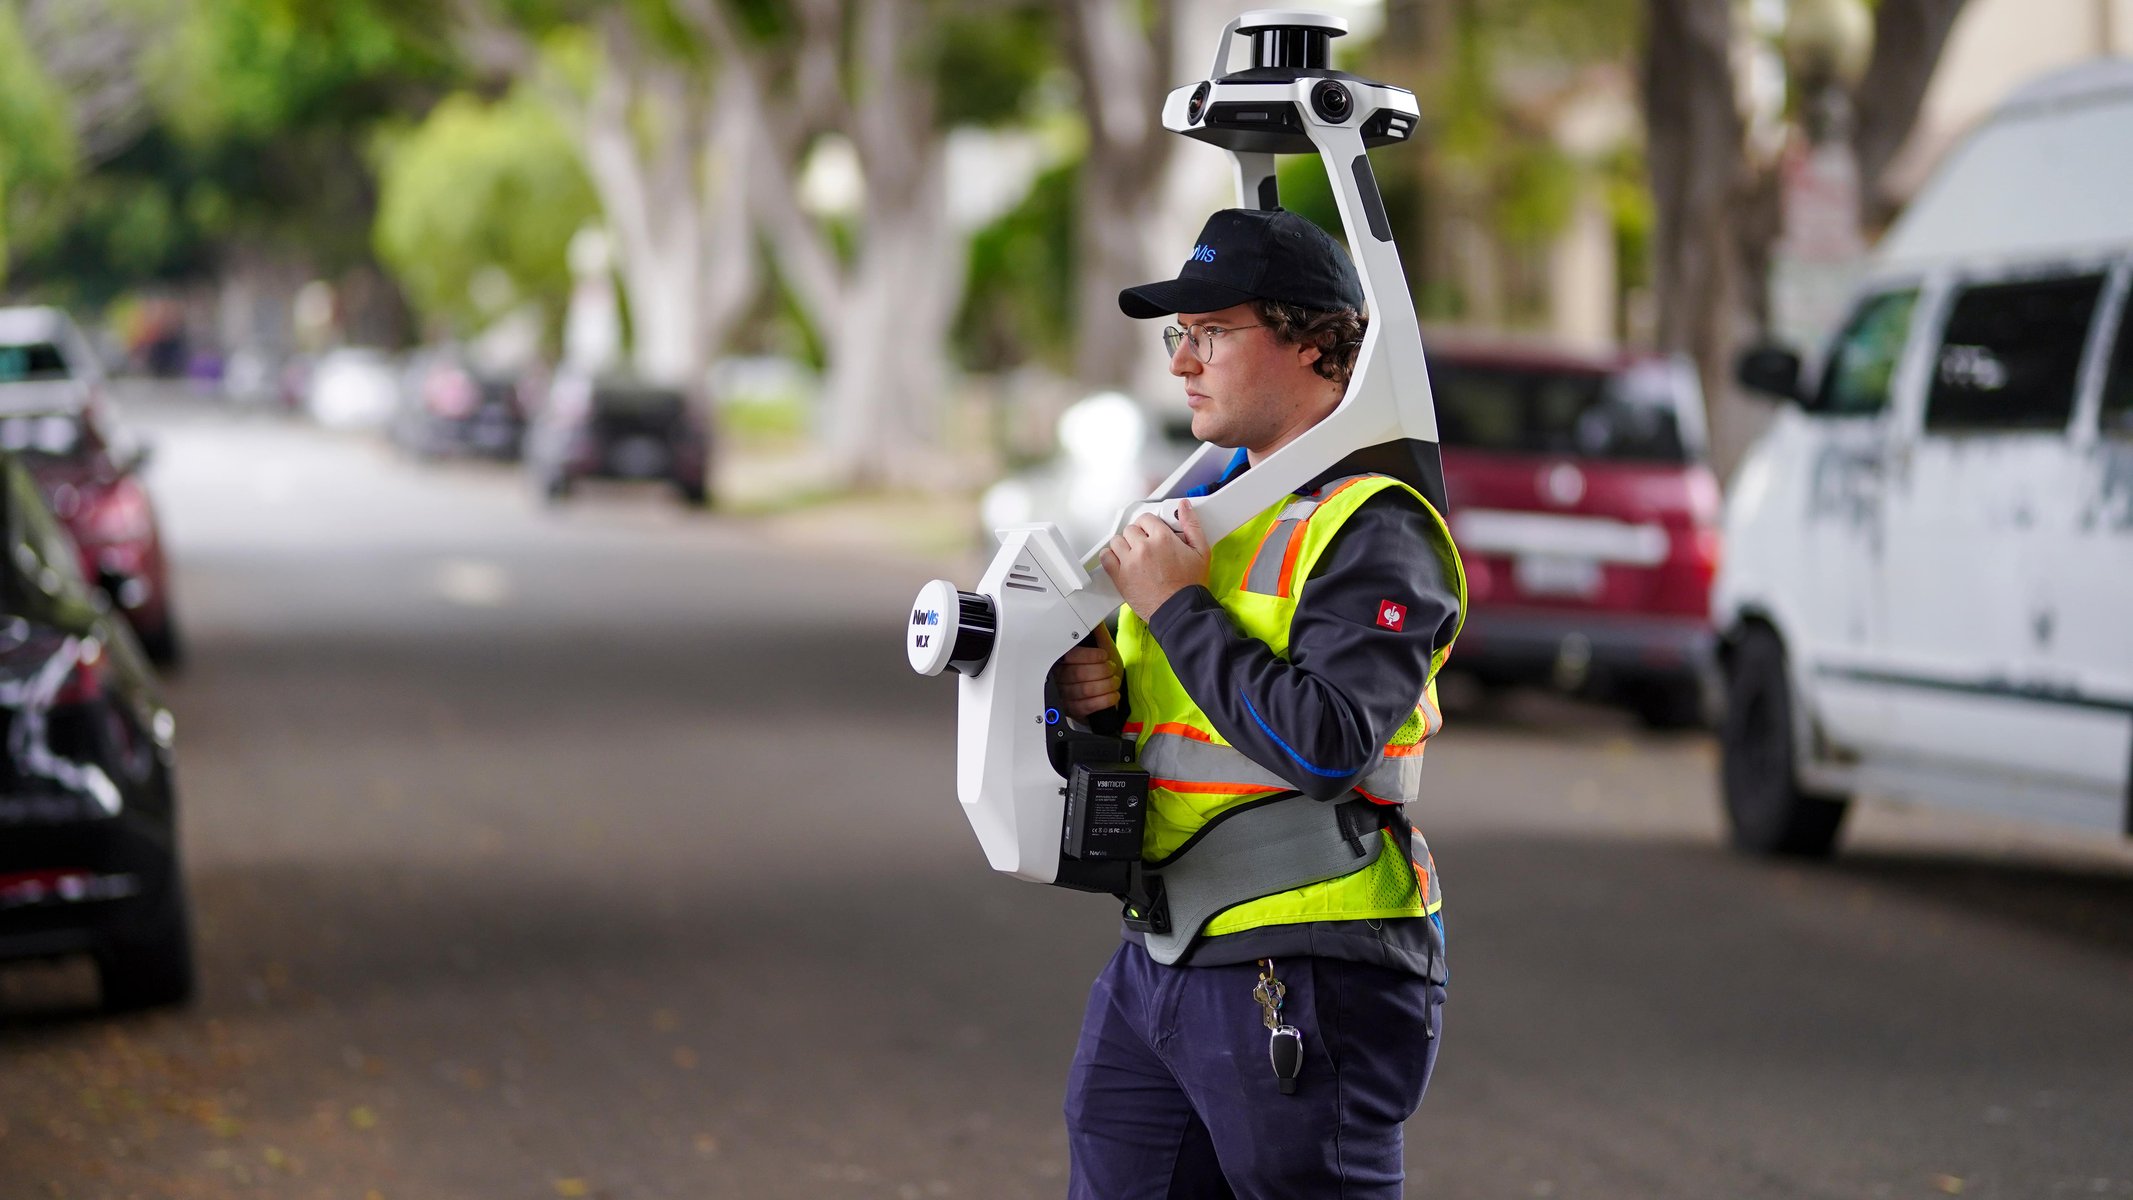
Tools
Robotic total station, prism, and GPS systems. A robotic total station measures distances and angles with great precision, while a prism is designed to reflect the beam of a total station; GPS equipment provides accurate location on the Earth's surface and helps you set up the appropriate coordinate system for the survey, while it is only sometimes used for the actual capture of points on-site in urban areas.
- Lay out control points and survey them with your GPS equipment
- Transfer these control point coordinates to the total station as the basis for all other points
- Set up the total station where it has a clear line of sight to the area being surveyed
- Walk to the first feature
- Capture survey points for the feature using prism and GPS equipment
- Repeat until the survey is complete, moving the prism and GPS equipment as needed
- Return to the office
- Process and analyze the data
- Draft survey deliverables (maps, reports, models, etc.)
Common deliverables
- Digital elevation model (DEM): A 3D representation of the Earth’s bare surface, excluding natural features. Indicates elevation values at regular intervals.
- Digital terrain model (DTM): A 3D model that augments the DEM with natural features such as rivers, vegetation, etc.
- 3D building models: A geo-located model that indicates the position, layout, and dimensions of any structures on site.
- Computer-aided drafting (CAD) map: A 2D map that uses points and line drawings to indicate all necessary details and features.


Featured news
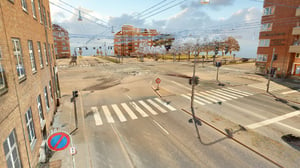
.jpg?width=300&name=NavVis-VLX-3-Culver-Street-linework-517-webinar-advancing-topographic-surveys-events-page-04092024-wp-featured%20(1).jpg)
On-demand webinar Advancing Topographic Surveys:
The Role of Wearable Mobile Mapping
On-demand webinar Next-Gen Topographic Mapping: Exploring Wearable Mobile Technology
Sample data Environment: Urban road - Los Angeles, USA
E-book Beyond Boundaries: NavVis VLX in the field
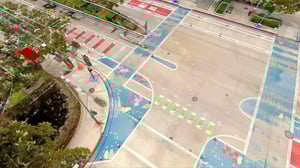
Urban road capture
We are talking about a detail survey of a road junction — a site of approximately 5,000 sqm with few obstacles, a low amount of occlusions, consistent lighting, a long line of sight, and a large field of view.
Compared to traditional survey methods, NavVis VLX 3 offers:
- 2.5X faster acquisition
- 2.1X faster office work
- A 35% total reduction in labor time
A NavVis customer reduced the time spent on site by a remarkable 87.5%, with fewer traffic management outlays and lower overall costs.

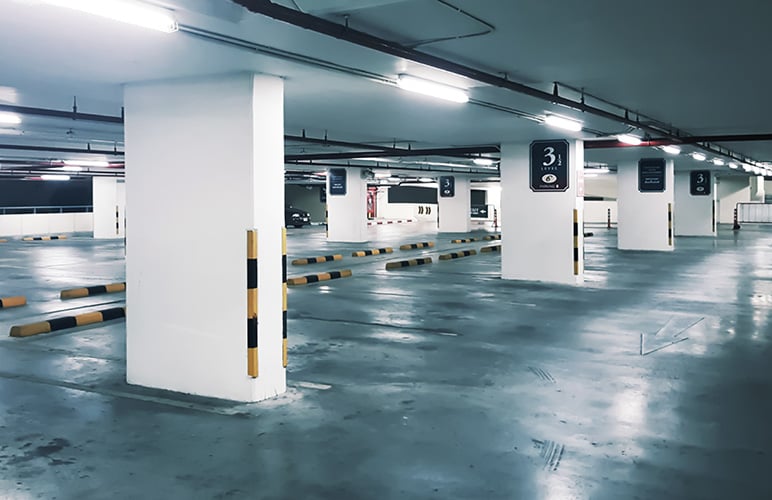
Parking garage survey
Here, we survey 45,000 sqm of empty parking lot with similar capture conditions.
Compared to traditional survey methods, NavVis VLX 3 offers:
- 2.5X faster data acquisition
- 4.2X faster office work
- A 57% total reduction in labor time
.jpg?width=300&name=NavVis-VLX-3-Culver-Street-linework-517-webinar-advancing-topographic-surveys-events-page-04092024-wp-featured%20(1).jpg)
Get the latest news as it happens
You'll get the latest updates, news, and industry insights – plus the occasional newsflash – direct from the team at NavVis.