

Tips for post-processing scan-to-BIM data so it’s ready for modeling, including cleaning up any messy parts and registering all your captures together.
In our previous posts, we covered tips about defining the scan-to-BIM project, then planning and executing your scan. Now it’s time to talk about preparing your data for modeling.
Today, we’ll cover tips for post-processing the data so it’s ready to use, cleaning up any messy parts in your data, and registering all your captures together so they’re ready for modeling.
Keep talking to your client
Remember how we said client communication was crucial to the process? Now is a good time to check in with the client again and make sure that everything is going to plan. Good communication will save you from some nasty surprises.
Check your hardware
Since a scan-to-BIM job captures huge amounts of 3D data, and 3D data requires a tremendous amount of processing power, it’s good to make sure that your hardware is capable of handling the load. Check the recommended hardware specifications in your software of choice.
Consider cloud processing
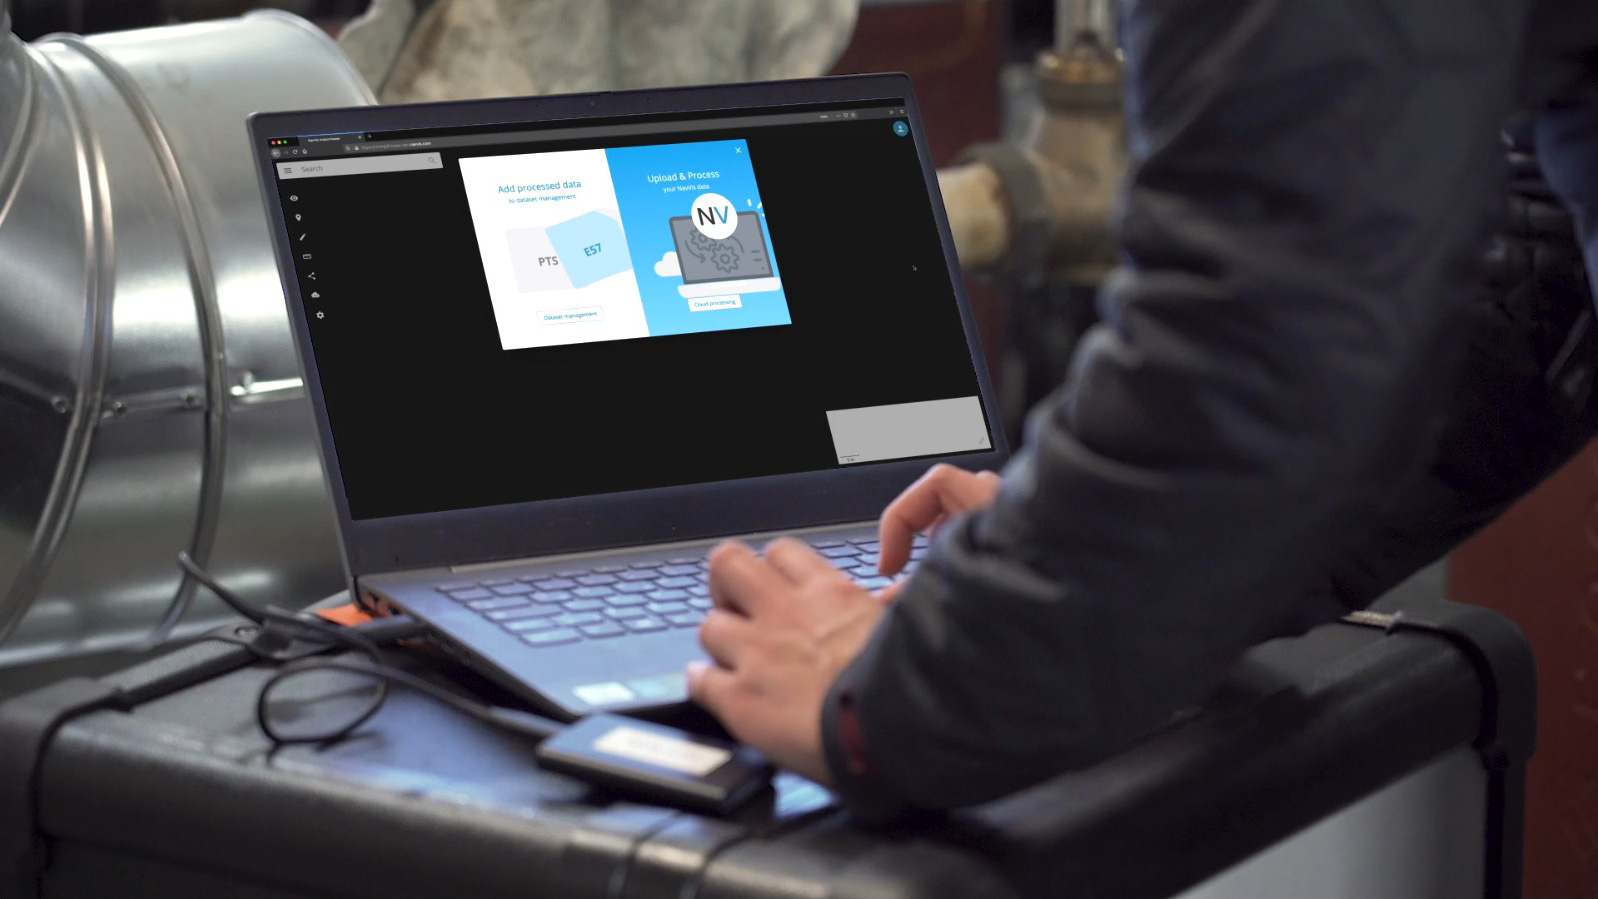
There are a number of good reasons why you wouldn’t want to budget for hardware that can process your scan data. That’s why even today’s largest scan-to-BIM firms have started to offload part of their post-processing to the cloud-computing services. These services are usually integrated with the software you’re already using. For instance, NavVis offers a Cloud Processing Add-on for NavVis IVION.
Cloud computing allows you to upload your data to a remote server that uses parallel processing—multiple computing cores running in tandem—to finalize your data quickly. If you want the data processed faster, you can simply pay to spin up more computers. That allows you to determine what your speed and processing needs are, and allocate your budget accordingly.
Cloud computing offers a number of secondary benefits. You can put money directly into processing rather than continuing to upgrade your IT infrastructure. You can process the biggest data sets from a portable computer or a tablet. And some of these services will also offer automatic registration, error checking, and notifications if something goes wrong. That way, your team can hit process on Friday, and know that the data is waiting for them when they get back.
Make a data-management plan
Make a plan for how you’ll manage the huge data sets from your job. Think about where you’ll back your files up, and how often you’ll do it so you don’t lose hundreds of hours of work.
Also, think about how you’ll share the data among your team. Maybe the scanning is performed on one side of the country, or across the ocean, from where it will be post-processed or modeled. Make sure you plan your storage in a way that facilitates easy sharing. And account for the time and cost of your chosen method for moving the files between team members.

Clean your data
Before modeling, you’ll need to clean your data.
That’s because a scanner captures everything its laser hits, which means your data is going to include some information that you don’t want in your final model. Maybe your technician passed a window or mirror and the scanner captured an impossible double of what it “saw” in the reflection. Maybe your terrestrial lidar captured a “ghost” of a person who walked through the scanner’s field of view. There are a lot of ways that a scanner can add unwanted noise to your data.
Some of the best scanners include algorithms for cleaning up data automatically (NavVis VLX takes advantage of its mobile-scanning technology to do this). But this will only get you part of the way, but you’re still going to need to clean your data before you go any further. Otherwise, your registration workflow could be a mess.
Take this opportunity to QA
While you’re cleaning your scans, you’re already looking carefully at everything you captured. Ask yourself, Does anything look out of place? Is everything aligned? Are my walls straight where they’re meant to be straight? Are there any double walls?
Register… and then QA again
Once your data is cleaned up, it’s time to register all your scans, photos, and other captures together. If you planned your scan properly, and your field technicians took good notes, the people doing registration will know how to fit everything together cleanly.
This is another good chance to QA. Check for registration errors, use measuring tools to be sure everything lines up just as you expected, take a cross-section and see if everything looks right. If it doesn’t, now is the time to fix it—before you start modeling. Small problems with your data processing can mean a lot of wasted time and money in the modeling stage.
Next steps…
If your team has done its job correctly, the data should be cleaned, registered, QA’d, and ready for the modeling stage. Now, you’ll hand it off to the modeling technician, who will turn the raw spatial data into a model fit for your customer. For tips on this final stage, see the next blog post in our series.
Sean Higgins is an independent technology writer, former trade publication editor, and outdoors enthusiast. He believes that clear, buzzword-free writing about 3D technologies is a public service.